How to Remodel a Bathroom: The Ultimate Guide to Planning, Design, and Construction
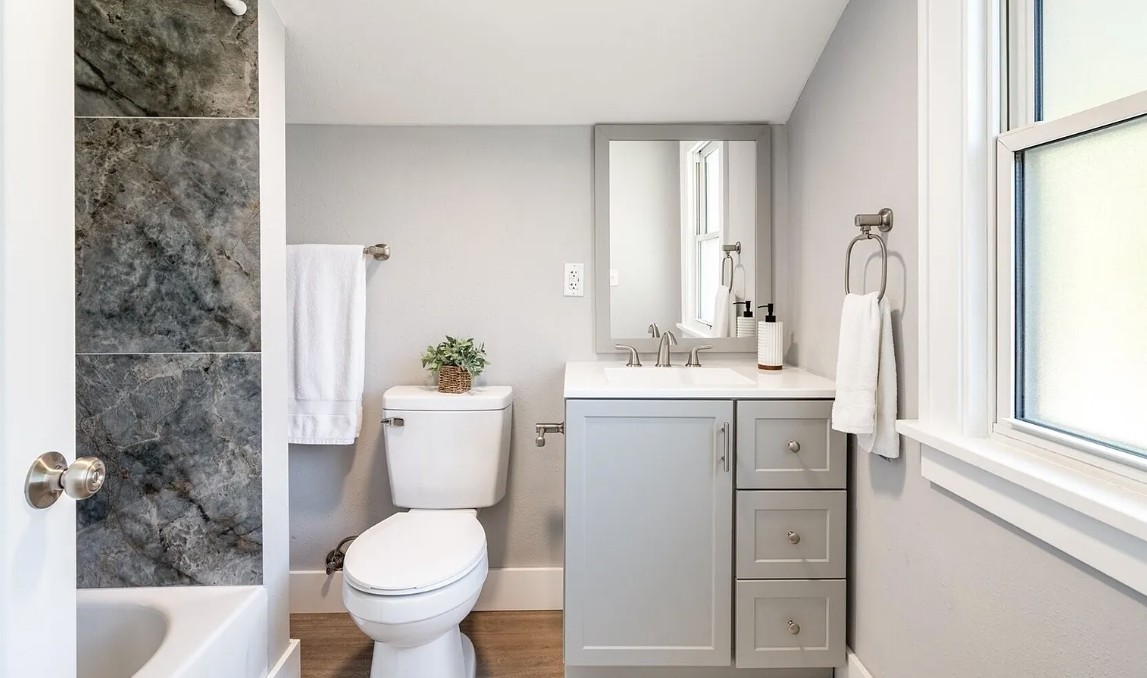

Your bathroom is likely the first room you visit in the morning and the last one you see before bed. It shouldn’t just be a utility space; it should be a sanctuary, a place to energize for the day ahead or decompress after a long week.
If you are reading this, you are probably tired of looking at outdated tile, fighting for counter space, or dealing with a layout that simply doesn't work for your family. You are ready for a change. But whether you are dreaming of a spa-like master suite or a functional guest bath update, one big question remains: Where do I even start?
Learning how to remodel a bathroom is about more than just picking out a new vanity or paint color. It is a complex puzzle involving plumbing, electrical work, waterproofing, and strict building codes. In the Pacific Northwest specifically, where moisture is a constant battle, ensuring your bathroom is built correctly "behind the walls" is just as important as how beautiful it looks on the outside.
At 360 House Remodeling, we believe that transforming your home should be exciting, not exhausting. As a family-owned business serving King and Snohomish County, we have guided countless homeowners through this process.
In this guide, we will walk you through the essential stages of a successful bathroom remodel, from the initial budget and design to the final installation, so you can approach your project with confidence.
Here is what we will cover:
- Planning: Budgeting and designing for your specific needs.
- The Process: A step-by-step breakdown of demolition to finish.
- Timeline: Realistic expectations for how long a remodel takes.
- Expert Advice: Why professional waterproofing protects your investment.
Phase 1: Planning Your Dream Bathroom
The most common mistake homeowners make is buying materials before they have a solid plan. You might fall in love with a freestanding tub, only to realize later that your floor joists need reinforcing or the drain location doesn’t match your current plumbing.
A successful remodel starts long before the first hammer swings. Here is how to build a roadmap for your project.
1. Assess Your Needs vs. Wants
Before browsing Pinterest for tile trends, think about functionality. Who is this bathroom for?
- The Master Suite: If this is your personal retreat, you might prioritize luxury features like a double vanity, a rain showerhead, or heated floors (a game-changer for Washington winters).
- The Guest/Kids' Bath: Durability is key here. You’ll want scratch-resistant surfaces, ample storage for towels, and a bathtub if you have young children.
- Aging in Place: Are you planning to stay in your home long-term? Consider "universal design" features like a curbless shower entry, wider doorways, or blocking in the walls for future grab bars.
2. Budgeting 101: The "Three Buckets" Rule
One of the first questions we get is, "How much will this cost?" While every project is unique, your budget will generally split into three categories:
- Labor: Demolition, plumbing, electrical, and expert tiling usually account for 40-50% of the budget.
- Materials: This is where you have the most control. You can choose a $200 vanity or a $2,000 custom cabinet.
- The Contingency Fund: In remodeling, the unexpected is expected. When we open walls in older homes, we occasionally find water damage or outdated wiring. Always set aside 10-15% of your budget for these surprises.
3. Design & Layout
Changing your layout is the fastest way to increase costs. Moving a toilet just three feet requires breaking up the concrete slab or re-routing waste lines through floor joists.
- Cost-Saving Tip: If your budget is tight, keep the plumbing fixtures (toilet, sink, shower) in their current locations and focus your spending on high-quality finishes instead.
- Visualizing the Space: It’s hard to imagine how a new layout will feel just by looking at a blueprint. This is why our process includes detailed 3D designs to help you see exactly how your new bathroom will look before construction begins.
4. Permits & Regulations
In many Pacific Northwest cities, strict building codes apply to bathroom renovations.
- Do you need a permit? Generally, yes. If you are moving plumbing, updating electrical circuits, or removing walls, a permit is required.
- The Risk of Skipping: Unpermitted work can complicate your home insurance coverage and lower your home’s resale value. When you work with a professional contractor like 360 House Remodeling, we handle the entire permitting and inspection process for you, ensuring your home remains safe and compliant.
Phase 2: The Step-by-Step Remodeling Process
Once the planning is done and the permits are approved, the real transformation begins. While every project has its unique challenges, most bathroom remodels follow a specific sequence to ensure efficiency and quality.
Here is the step-by-step process we follow at 360 House Remodeling.
Step 1: Demolition & Site Protection
Demolition is more than just swinging a sledgehammer. It’s about surgical removal to protect the parts of your home we aren't remodeling.
- Protection First: Before we touch a tile, we protect your floors and set up dust barriers. We know you still have to live in your home while we work!
- The Strip Down: We remove the vanity, toilet, tub, and existing tile.
- The Inspection: Once the walls and floors are open, we check for hidden issues like "soft" subfloors (rot) or old galvanized pipes that are common in Washington homes built before the 1980s. Catching these now saves you thousands later.
Step 2: Rough-In Work (The "Guts")
This phase isn't glamorous, but it is the most critical for the longevity of your bathroom.
- Plumbing: We re-route water lines and drains to fit your new design. This is often when we upgrade old pipes to modern PEX piping, which is flexible and resistant to freezing, a must for our climate.
- Electrical: We run new wiring for upgraded lighting (like vanity sconces or recessed cans) and install GFCI-protected outlets for safety.
- Ventilation: In the PNW, moisture is the enemy. We install high-performance exhaust fans vented directly outside (never just into the attic) to prevent mold growth.
Step 3: Professional Waterproofing
If you take away one thing from this guide, let it be this: Tile and grout are not waterproof. Water will get behind them eventually.
- The Defense Layer: The real protection comes from what is behind the tile. We use advanced waterproofing systems (such as Schluter-Kerdi or liquid-applied membranes) on shower walls and floors.
- The Pan: We ensure the shower pan is perfectly sloped so water drains effectively, preventing pooling and leaks. This step is where many DIY projects fail within the first few years.
Step 4: Flooring & Tiling
Now the room starts to take shape.
- Floor Prep: We ensure the subfloor is level and stable to prevent your new tile from cracking.
- Precision Setting: Whether you choose large-format porcelain or intricate mosaic patterns, our skilled craftsmen lay the tile with precision, paying close attention to grout lines and layout symmetry.
- Design Note: We often recommend slip-resistant porcelain tile for bathroom floors to combine safety with durability.
Step 5: Installation of Fixtures & Finishes
This is the "jewelry" phase where your vision comes to life.
- Vanity & Tops: We install the vanity cabinet, countertop, and sinks.
- Plumbing Trim: Faucets, showerheads, and controls are installed and tested for pressure and leaks.
- Lighting & Mirrors: Sconces are mounted, and mirrors are hung to complete the look.
- Glass & Paint: Finally, the shower glass is installed, and the walls receive a fresh coat of moisture-resistant paint.
Step 6: Final Walkthrough
We don't just hand over the keys; we walk you through your new space. We explain how to care for your new surfaces, test every faucet with you, and ensure every detail meets our 5-star standard.
How Long Does It Take to Remodel a Bathroom?
If you have ever watched a home renovation show, you might believe a bathroom can be gutted and rebuilt in 30 minutes. In reality, a quality remodel is a construction project that requires coordination between designers, plumbers, electricians, tile setters, and city inspectors.
The timeline depends heavily on the scope of work. A simple "pull-and-replace" (swapping fixtures without moving them) might take 2-3 weeks, while a full custom remodel typically takes 3 to 6 weeks once construction begins.
Here is a realistic breakdown of what the timeline looks like when you work with a professional team:
Table: Typical Bathroom Remodel Timeline
DIY vs. Hiring a Professional Contractor
With so many "How-to" videos available online, it is tempting to consider tackling a bathroom remodel yourself to save money. And for small updates, like painting the walls, swapping a mirror, or changing cabinet hardware, DIY is a great option.
However, a full remodel involves complex systems that require specialized knowledge. Here is why hiring a Design-Build firm like 360 House Remodeling is often the safer, smarter investment:
1. The "Hidden" Dangers
Bathrooms are wet environments. A small mistake in waterproofing or plumbing might not show up for months, but eventually, it can lead to rot, mold, and expensive structural damage. As professionals, we understand the specific building codes in Washington State and use industrial-grade waterproofing systems that aren't always available at big-box stores.
2. Project Management (The Stress Factor)
Acting as your own General Contractor means you are responsible for finding a plumber who shows up on time, scheduling the electrician, renting the dumpster, and waiting around for city inspectors. We handle 100% of that coordination. You simply approve the design and watch it come to life.
3. The 360 Difference
- One-Stop Shop: We guide you from the initial design concept through to the final installation. You don't need to juggle five different subcontractors.
- Licensed, Bonded, & Insured: We protect your home and your liability.
- Warranty: We stand behind our craftsmanship. If something isn't right, we fix it.
The Bottom Line: Your time is valuable. A project that might take a DIYer 3 months of weekends to finish (often with frustration) can be completed by our team in a few weeks with a flawless finish.
Trending Bathroom Design Ideas for 2026
As we move into 2026, the "all-white" sterile bathroom is fading. In the Pacific Northwest, homeowners are shifting toward warm, organic, and deeply relaxing spaces that feel like a private spa.
Here are the top three trends we are seeing in King and Snohomish County homes:
1. The "PNW Spa" Aesthetic
Homeowners are bringing the outdoors in. Think warm wood tones (like walnut or white oak vanities) paired with natural stone textures.
- Why it works: It counters the gray Seattle days with warmth and organic beauty.
- Key Features: Large rain showerheads, steam showers, and pebble stone shower floors that massage your feet.
2. Heated Floors (Radiant Heating)
If you have ever stepped onto cold tile at 6:00 AM in December, you know the struggle.
- The Trend: Electric radiant floor mats installed under the tile.
- The Benefit: It’s an energy-efficient way to heat the room comfortably without drying out the air like forced-air vents do. Plus, it dries your floor faster, reducing mold risk.
3. Smart Functionality
Technology is finally making bathrooms more convenient without looking "techy."
- Smart Toilets/Bidets: Once a luxury, high-end bidet seats with heated seats and nightlights are becoming a standard request.
- Digital Shower Valves: Set your perfect water temperature precisely to 102°F before you even step in.
Ready to Build Your Sanctuary?
Learning how to remodel a bathroom is the first step, but executing that plan is a different challenge. It requires a team of skilled plumbers, electricians, and tile setters working in perfect sync.
You deserve a bathroom that energizes you in the morning and relaxes you at night—without the stress of managing a construction site yourself.
FAQ
Frequently Asked Questions (FAQ)
How much does a bathroom remodel cost in the Seattle area?
Do I need a permit to remodel my bathroom?
Can I live in my house during the remodel?
What is the best flooring for a bathroom?
Have questions about your upcoming remodeling project? We’ve got answers to help you plan your renovation with confidence.
At 360 House Remodeling, we don't just renovate rooms; we build trust. From our detailed 3D designs to our final white-glove walkthrough, we are committed to making your vision a reality.
blog
Read more tips
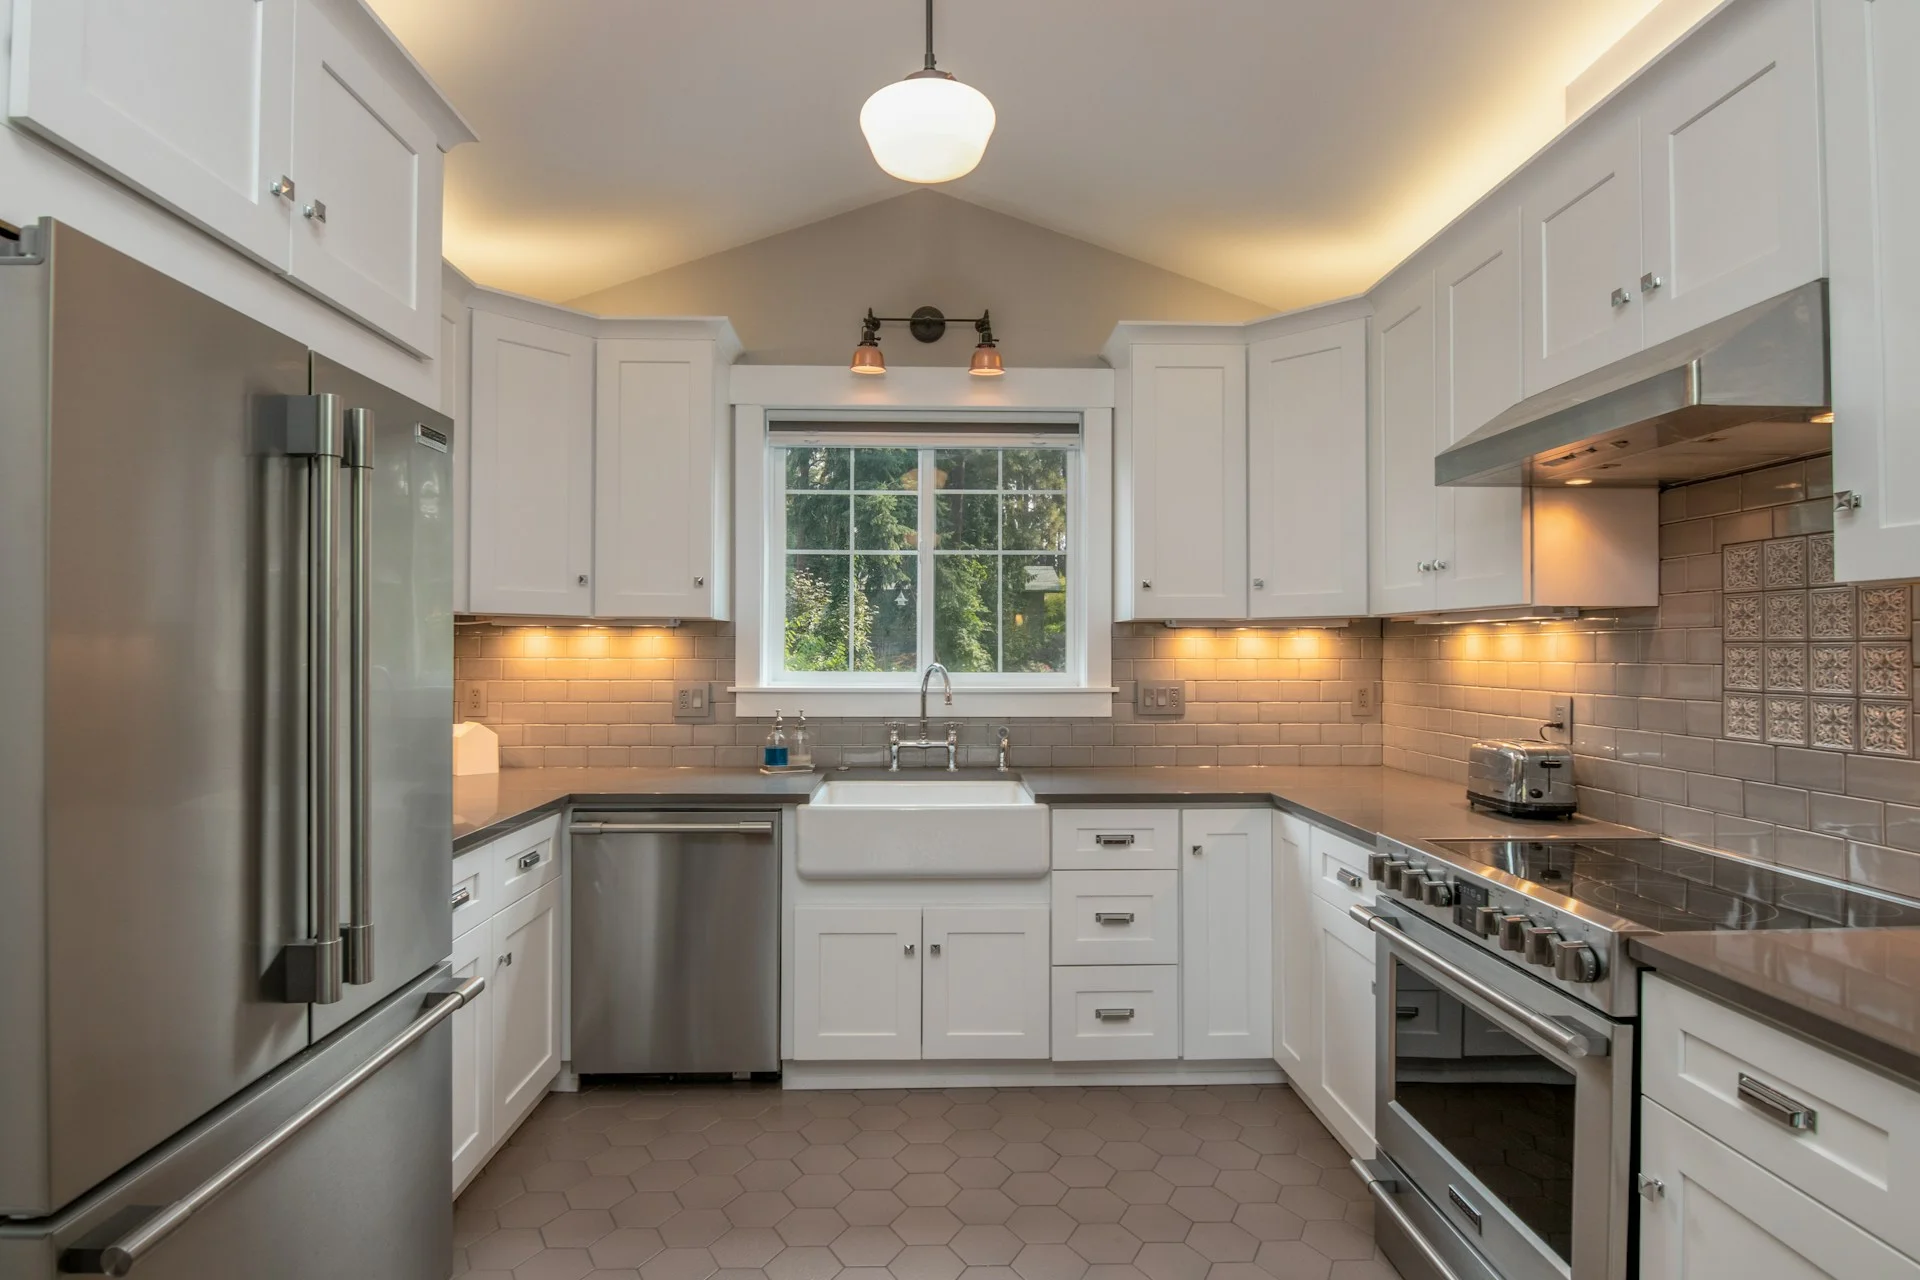
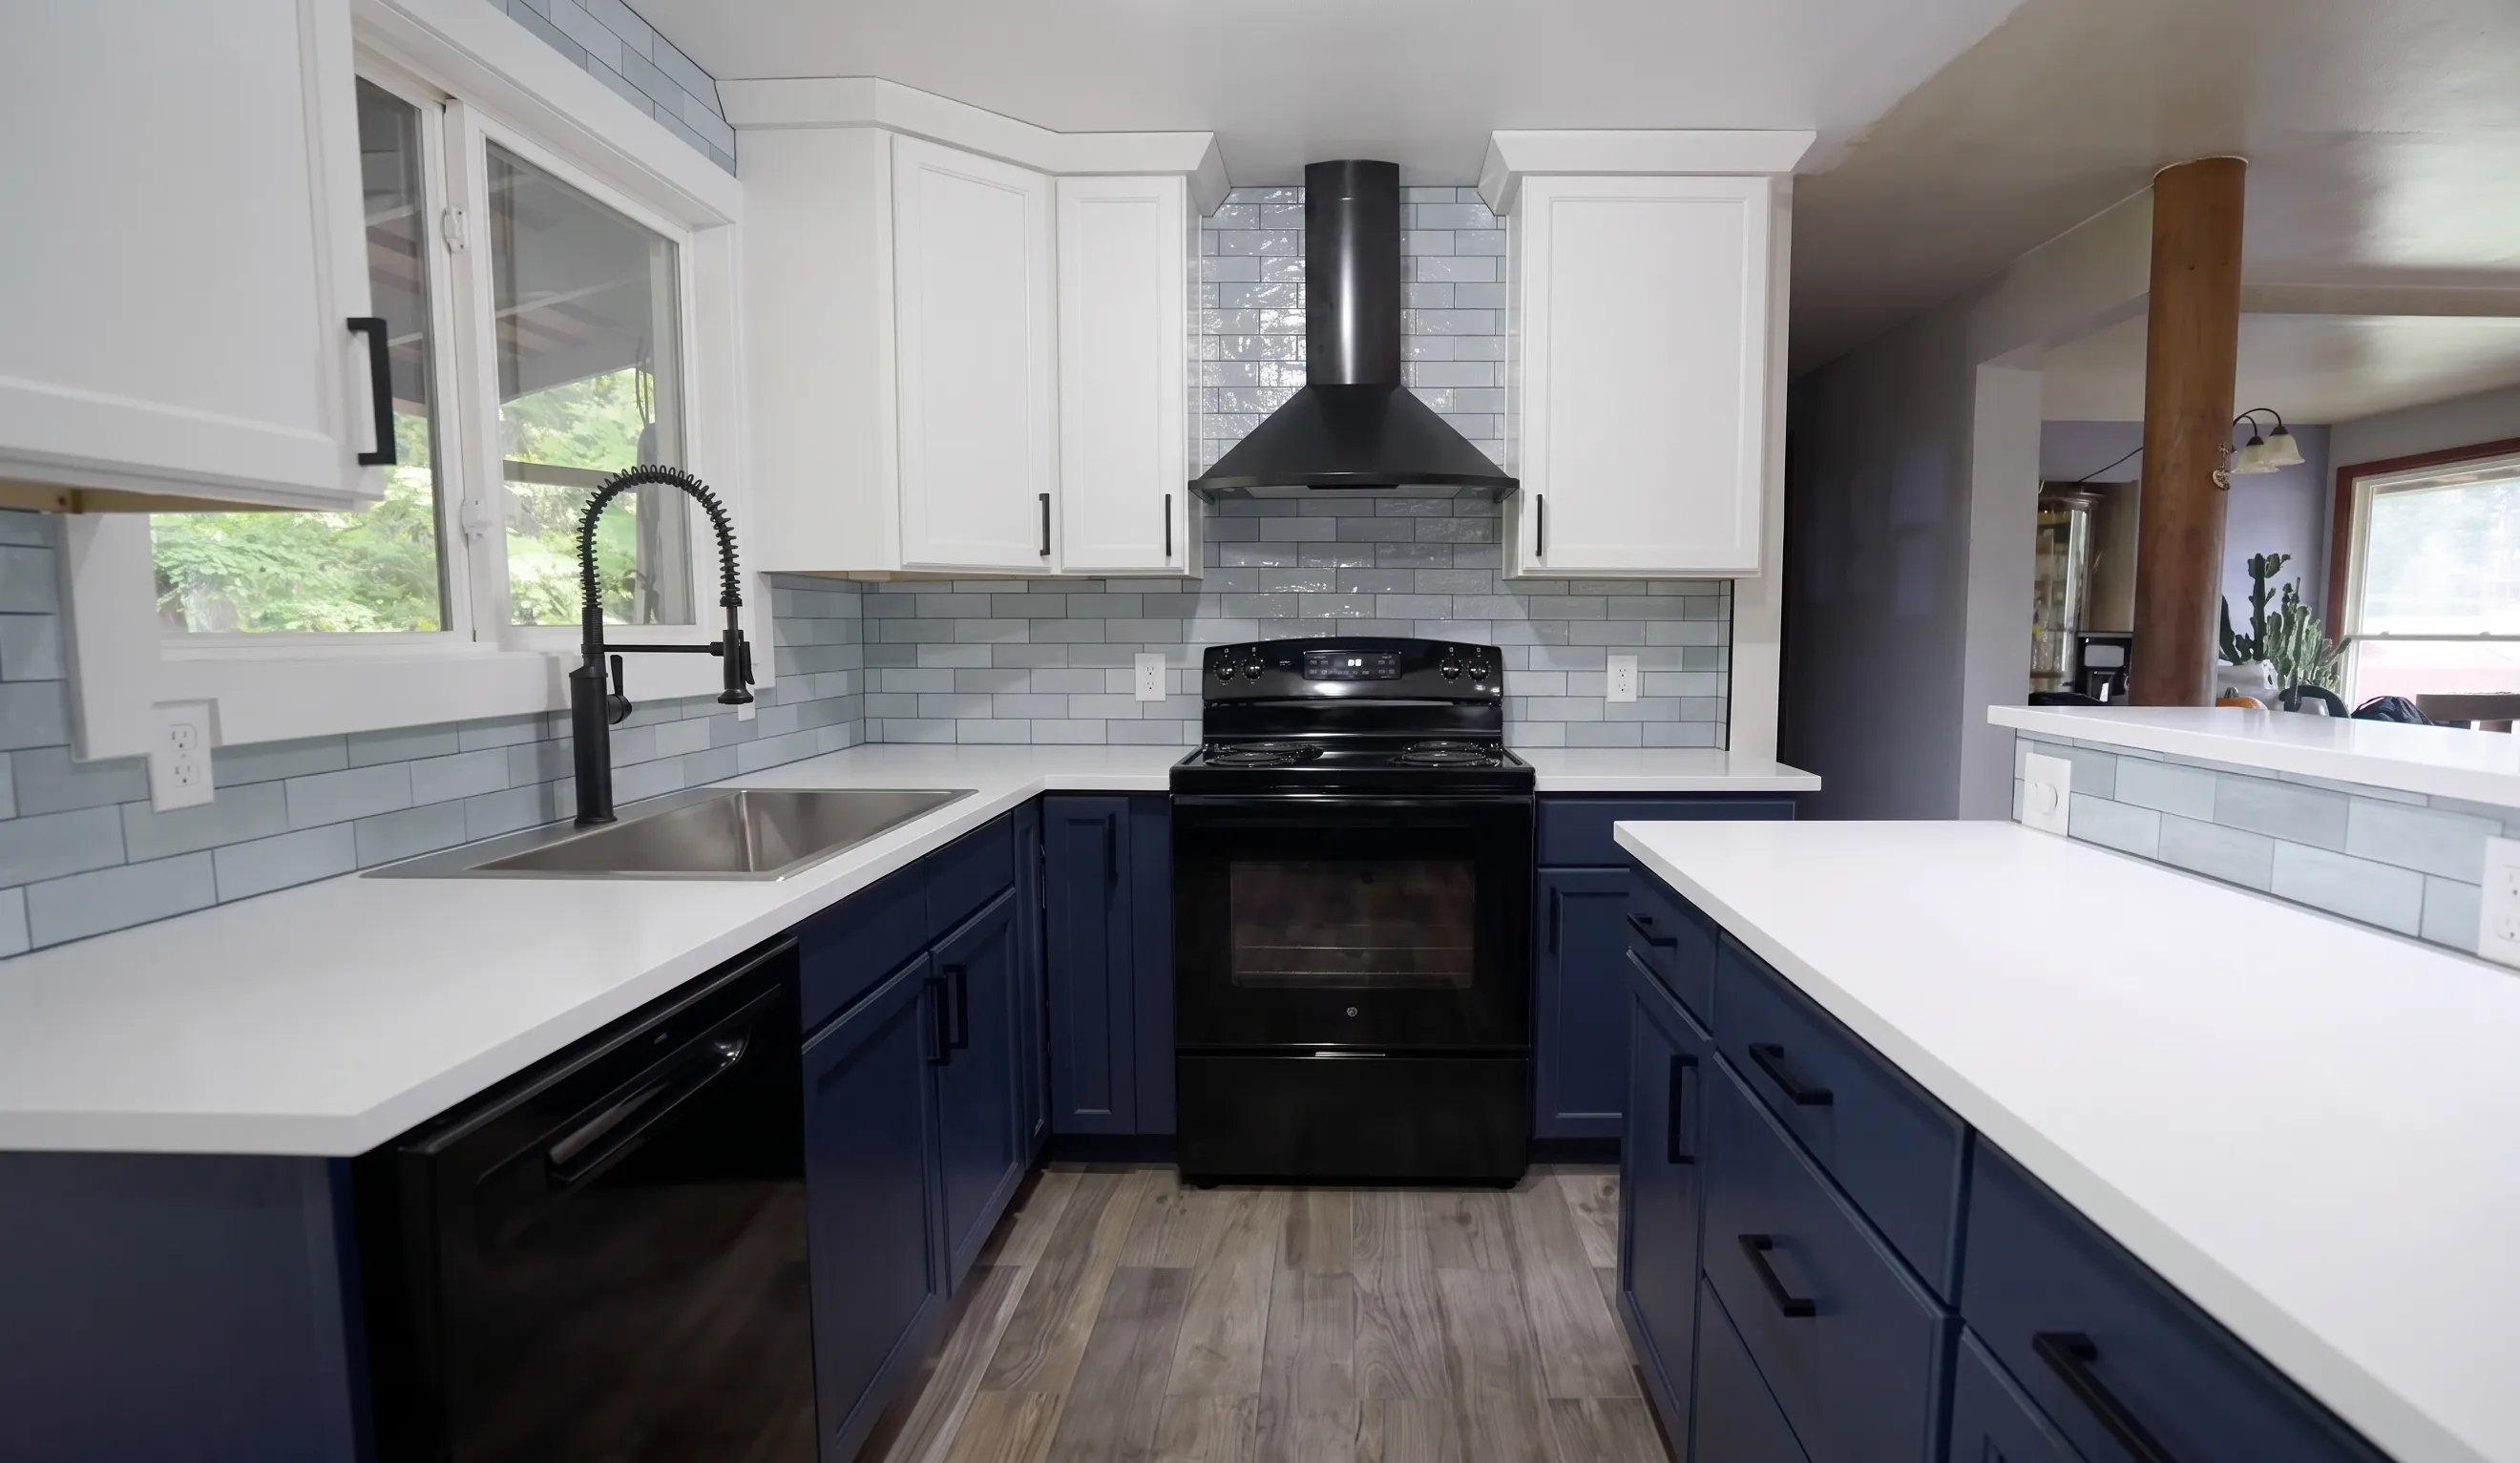
Get fresh ideas for your next home project.Read our latest articles for quick tips on kitchen design, bathroom remodeling, and whole-home renovations that add comfort and value.


Ready to Bring Your Home Remodel to Life?
Have a vision for your home or just exploring ideas?Our team is here to guide you every step of the way.Reach out to 360 House Remodeling for a free, no-pressure consultation and start planning your next project today.